


Factory Filament
DuraPET PCR
DuraPET PCR
Buy 5 and save $10.00
Buy 10 and save $40.00
Buy 15 and save $75
Couldn't load pickup availability
 Advantages
- Made from 91% ocean bound certified rPET
- EXTREME durability
- Excellent chemical resistance
- Painted and printed without treatment
- Replacement for PETG, Nylon, PC, ABS
Printing Performance
- Extreme bed adhesion
- No fans required
- No enclosure required
- Functional, durable parts

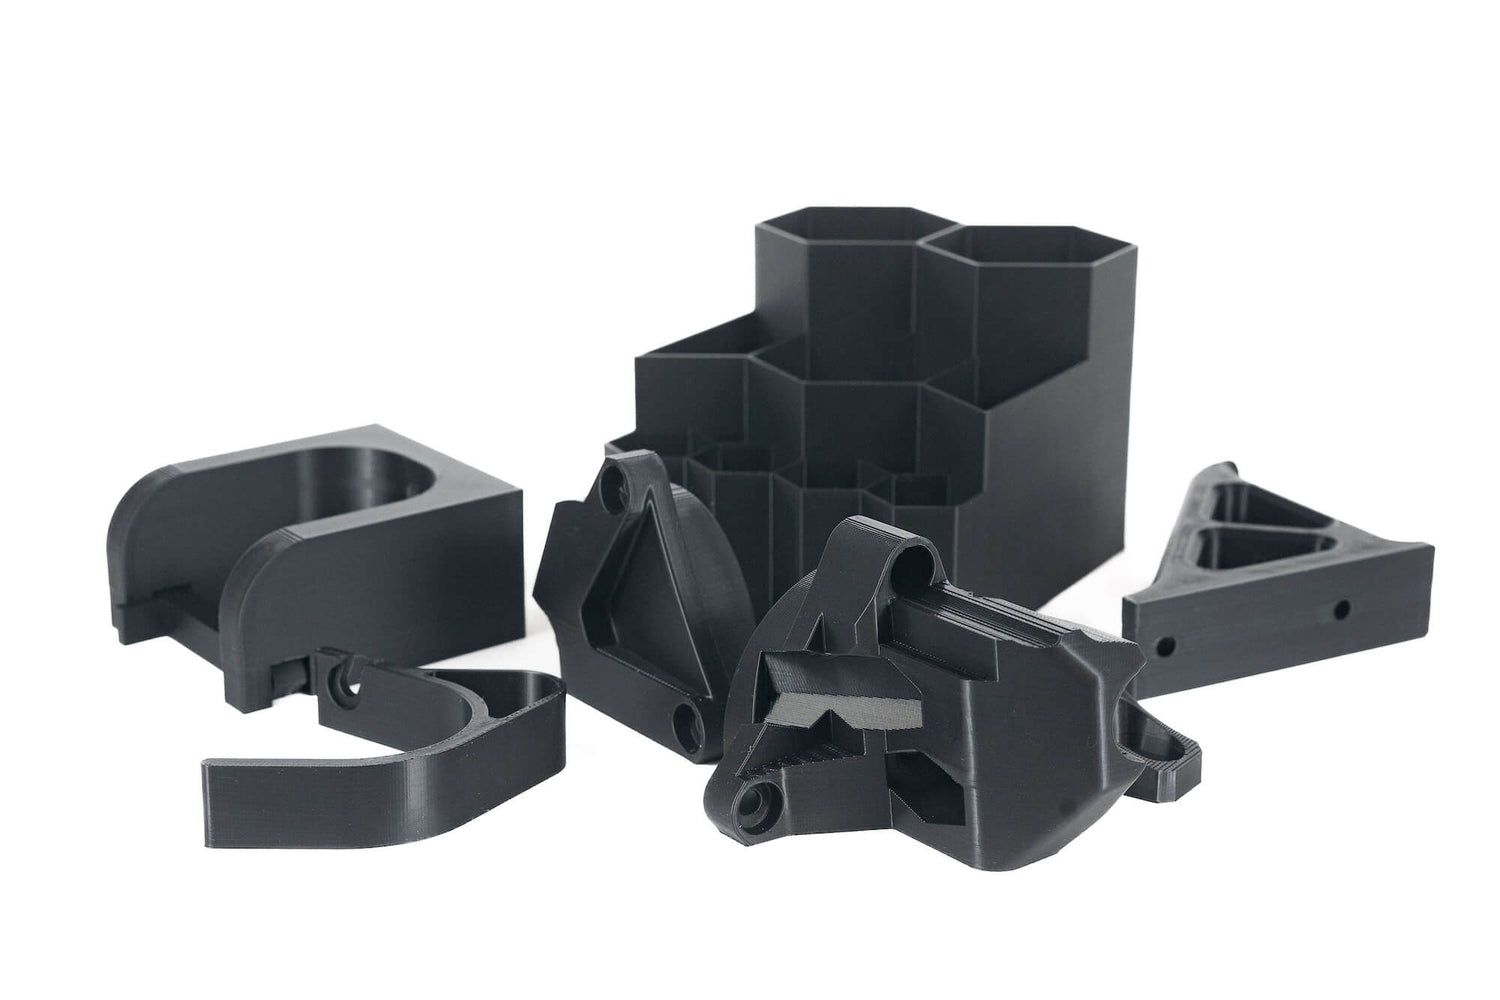
Strong, Durable Parts
Known for its exceptional strength and durability, it’s ideal for creating functional prototypes and end-use parts that last.
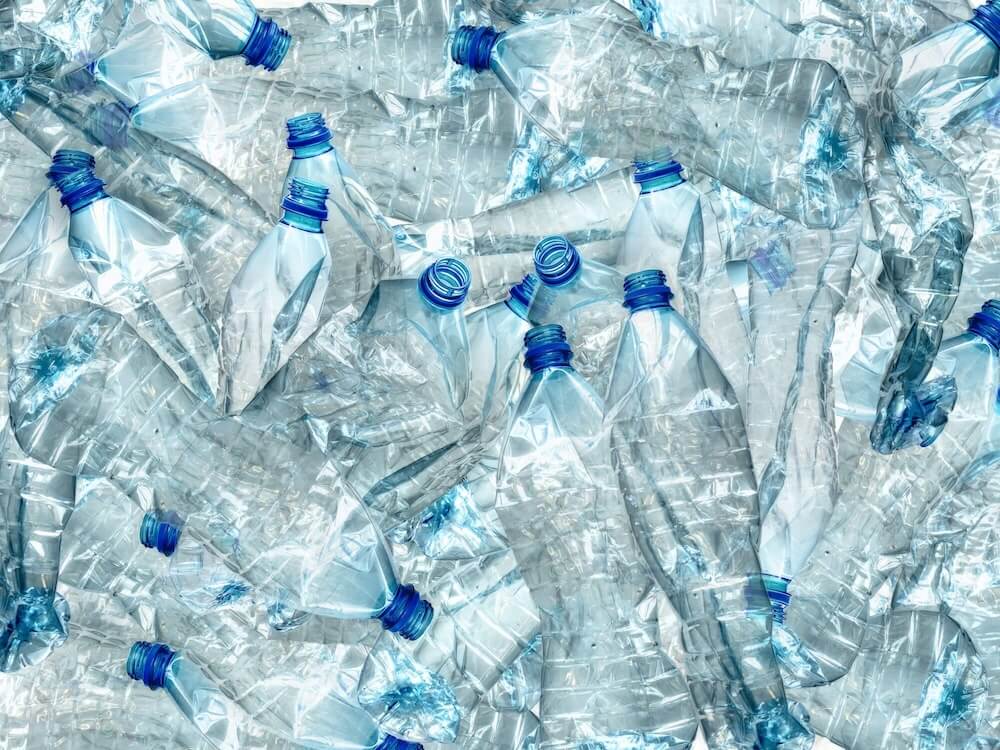
Seriously Recycled
Finally, a 3D printing material that is made from actual post consumer waste!
Reduce waste and create high-quality prints with a material that’s both sustainable and reliable.
Print Settings
Printing with DuraPET
Extruder Settings
First Layer: 280-300C
Other Layers: 275-310C
Type: PET
Diameter: 1.75mm
Extrusion Multiplier: 1
Density: 1.29 g/cm3
Volumetric Speed: 17mm/s3
Bed Temp
First Layer: 80C
Other Layers: 80C
Textured sheet recommended
Cooling
Cooling
Use auto cooling
Layer time 12s: Max 20%
Layer time 30s: Min 0%
Minimum Print Speed: 20mm/s
Speed for overhangs/bridges: 60%
Auxillary Fan: OFF
Part Removal
Removing Parts
Allow bed to cool before removing bed plate.
Once plate is removed, gently flex the plate until some cracking is heard.
Spray the plate with tap water or IPA near the base of the part or prime/calibration lines.
Flex the plate and allow the water or IPA to travel between the part and the plate.
Repeat the above two steps until the part is fully released from the plate.
Support Document
Download the entire support document here: